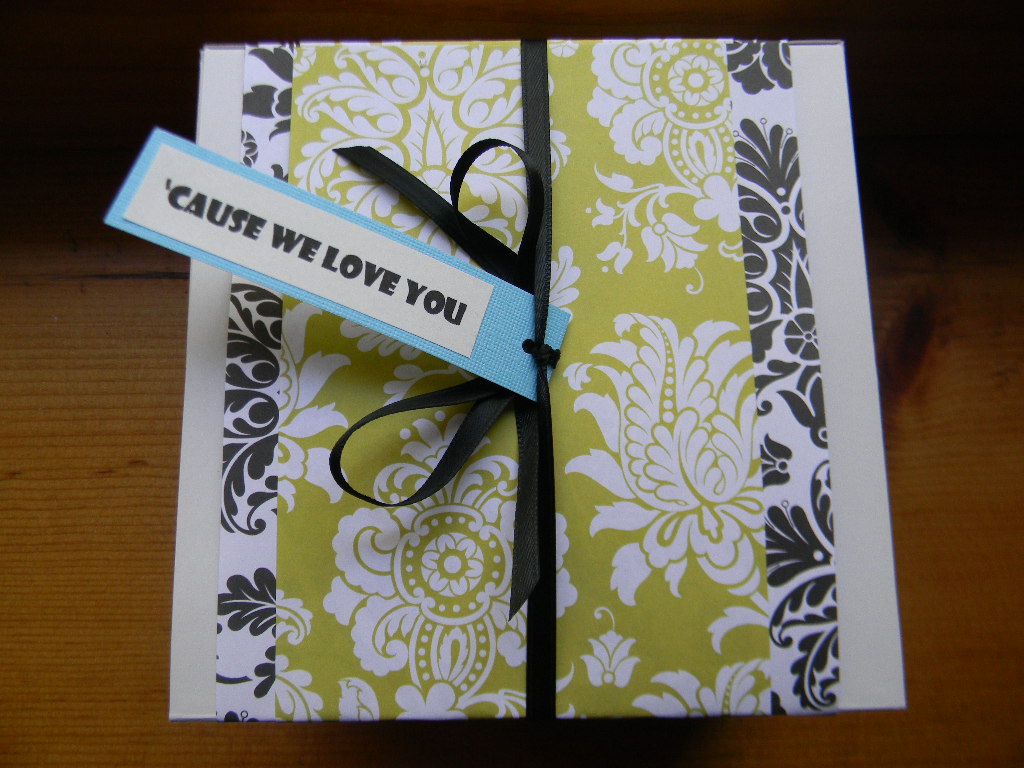
Showing posts with label Gifts. Show all posts

Wednesday, February 1, 2012

Mustache Bookmarks


I recently got Photoshop and I've been trying to learn how to work its magic. Inspired by these Valentines from Plum Adorable, I decided to make mustache bookmarks for my little sister's birthday. I started with photos of my baby nephew in Photoshop and then ran with it. It was worth it for the sheer amusement; I laughed out loud so many times (Ryan gave me the "you're weird" eyebrow lift). My nephew is just too cute, especially with a Mario Brothers' mustache.


I made the bookmarks to accompany the first two books of The Hunger Games trilogy in her birthday package. If you haven't yet, you should must read these books! They're pretty addicting.


To start, I used my sister's instagram photos of the baby, but any photo cropped down to a square will work. Then I googled "free mustache clip art." Here's a 'stache that I used. I used Photoshop to add the mustaches to the photos. If you don't have Photoshop, I'm pretty sure you can do the same thing with Pixlr for free!


I then came up with mustache-related sayings. Only one is actually related to reading...oh well! After printing the bookmarks off, I cut 'em out and glued 'em to cardstock in a contrasting color.

Thursday, January 5, 2012

Happy Birthday Handsome


Today is Ryan's 28th birthday. It's my day to spoil him. I got my happy butt up at 4:30 this morning to make him waffles with homemade vanilla syrup. He claimed it was the best waffle he'd ever tasted. He sure is easy to please, seeing as they were Bisquick waffles.


He also woke up to this little Post-it banner on his bathroom mirror. This is a simple and quick way to surprise someone for a special day or just because. Who doesn't like waking up to a surprise note? Just cut post-its into triangles, spell out your message, and stick 'em. No hole punch, no string, no fuss.


My man...so excited to get a jerky maker. "Food dehydrator" to be exact. Although he mainly wanted it to make jerky, he was intrigued to read that he can make his own fruit roll ups as well. Again, easy to please. Don't worry I got him other stuff.

Why do I keep him around? Well, he's beyond handy, incredibly brilliant, an amazing artist, and let's face it devilishly good looking. He never sighs when I take on another DIY project, instead he asks if he can help. He doesn't complain if I have nothing planned for dinner, instead he offers to exercise his culinary genius to whip something up. And no matter how much crap he catches from his friends, he has no problem walking around a craft fair or taking an art class with me. As if that isn't enough, he let me take over, and I mean completely overtake, our second bedroom with craft "supplies" (more like tons of crap I'm hoarding in the hopes that I will someday use it to make something pretty)! One day he will have his mancave and it will be epic.

So here's to you John William Ryan Turner (you can thank family tradition for all those names), my partner in crime, I love ya and appreciate all that you do. Bon anniversaire!


Sunday, January 1, 2012

DIY Doll Beds and Tiny Quilts

Ryan's nieces love their American Girl dolls, so I wanted to make them something for Christmas that their dolls could use. Their dolls already have millions of outfits. Why not furniture? I came across lots of ideas including this picnic table, which I'm also dying to make. Ultimately, I decided on these farmhouse beds from Ana White

For our first wood project together, I would say that Ryan and I did a pretty rockin' job. And we did it for only $20 each! I'll break down the cost at the end of the post. I also made my first quilt ever. Actually, two. They may have been mini, but that's two mini victories for me.


One niece likes pink and the other likes purple. I spent a long time in the fabric store choosing fabrics to go together. So long in fact, that some woman asked me for help, because she thought I worked there.


 The beds fit 18" dolls.

The reverse side of the quilts are awfully cute too.

We used step by step instructions for the farmhouse bed from Ana White's blog. If you've never been to her site, you have got to check it out! She is incredibly talented, a lumber goddess really. The best part of it all is that she makes it easy for you to build beautiful things too. Go to her site, you'll see.

A couple of things we did differently from Ana White's instructions. We only used four panels in the headboard and foot board (with five slots it was wider than we needed). Also, to save money, we used thick cardboard (instead of plywood) to support the mattress.

The beds coming together.

My man hard at work. We realized that we desperately need a larger work space if we're going to do more projects like this in the future. Somehow he made it work with just the top of his tool chest and two not-so-sturdy sawhorses.

Once Ryan finished putting the beds together, I used wood filler on the screw holes then sanded the whole bed down. I then primed and painted the beds with some paint I had leftover from the antique dresser and hutch.

Now for the bedding. Remember I'm no expert. But I'll try to explain how I made the doll quilts.

Thursday, December 8, 2011

5 Days of Felt : Felt Gift Bows

It's Day Two of 5 Days of Felt and today I want to share how to make reusable felt bows. The beauty of these little guys is that they can't get crushed in the car, on the way to family gatherings, like paper bows do. And they cost around 50 cents each! These were inspired by How About Orange's magazine bow tutorial.


What you'll need :
   - 9"x12" sheets of felt
   - ruler
   - scissors or rotary cutter
   - hot glue gun and glue

Sunday, December 4, 2011

5 Days of Felt : Ruffly Rosette Wreath

Ever since I made the felt dress up dolls, I have been so excited about felt! I hadn't used felt since I was a kid, but lately I've been searching for more adult ways to use it. With all of these great ideas, I've decided to do 5 Days of Felt. I can't promise that they will be five consecutive days, but there will be five days with five fun ways to use felt.

To kick off 5 Days of Felt, I'm sharing this ruffly rosette wreath that I made for my sister's house. I came across the tutorial for the rosette wreath at Domestifluff awhile ago and had been wanting to try it. I also wanted to decorate my sister's house for Christmas since my little nephew had just been born and she was a little busy with the whole newborn thing.

Please forgive the car seat backdrop. My car was the only place with good light. This is the wreath in route to my sister's house. You might be thinking pink?, that's not a traditional Christmas color. But my sister = not so traditional, just one of the many reasons I love her!


Now let me show you how to make it. You'll need: 
  - 12" styrofoam wreath
  - about 2 yards felt (maybe a little less)
  - a box of 200 straight pins
  - 3" circle template
  - pen

Monday, November 7, 2011

DIY Felt Dress Up Dolls

Ryan's twin nieces were turning six and I wanted to make them something special. I came across this idea for felt dress up dolls at Smile and Wave, which also led me to these extremely cute felt dresses by Olivia Mew. I absolutely love the way the dolls turned out! 


I couldn't wait to start cutting out the miniature fashionistas. I headed to Joann's and grabbed a bunch of felt. I hadn't done any crafts with felt in a loooong time. I was surprised to find they even had animal print felt. 


Of course, I had to throw in a little felt wiener dog. We had fun coming up with the accessories. Ryan made the cupcakes and cut the parrots freehand! He never ceases to amaze me.


Rachel was sweet enough to share a template for the dolls in her post. Use this as a jumping off point and then channel your inner fashion designer and run with it.


A hunt through my craft room turned up flower-shaped brads, mini pearls, ribbon, buttons, and lots of little bling. So I went to town adding the finishing touches to the clothes.

Meow! My attempt above at felt cat-eye glasses. Maybe if I had done them in black, they would have looked more like cat-eye glasses and less like a superhero mask.

I would have loved to make even more clothes and accessories. Ryan had to pull me away when I was still cutting out little hairdos and handbags ten minutes before the party was supposed to start. He reminded me that I could make them more wardrobe pieces as a Christmas gift (which is the perfect idea since I'm sure a few pieces will have been sucked up into the vacuum by then). 


Now I know that it's lame to give a dual gift to twins. But with the sandwich board they can each have their own side to dress up dolls. I personalized them with their names. Plus they have twice the wardrobe options so they can swap clothes with each other, doll clothes that is (one of the twins is much taller than the other).

You can choose a different color for the board felt. But I ended up following Rachel's lead and choosing a light gray. No other color worked as well. It's neutral and it allows the brightly colored clothes to pop.

Here's how to make the felt board :

Sunday, October 16, 2011

Robot Baby Gifts


I found a lot of robot gifts for Baby Riot that also doubled as decorations for the shower. I want to share them with you, as well as great gifts from other people at the shower, in case any of you know a little boy who loves robots.

Forget the teddy bear, this stuffed robot is the cutest thing ever, right? Riot's gonna love him!


This book is ADORABLE. There are gears that spin, which will be great when the baby gets a little older.


What baby's room would be complete without a robot bobble head?


These little onesies were made by Chelsea's friend and hair stylist. She is so creative! She screen-printed them all herself. She also makes hair pieces that my sister and I love to wear. Visit her Etsy shop.


Last but not least, my favorite gift for the baby was from my amazing friend Sarah. She painted an original piece of robot art for his room. I adore Sarah and I adore this little canvas. You can read more about how Sarah made this work of art at her blog : Miss Sarah.


Happy mommy-to-be and Patsy


Pin It

Tuesday, September 20, 2011

A Chocolate Chip Banana Bread Thank You

We had some very ripe bananas sitting in our kitchen, so I decided to make some bread to share with family. I love this recipe. My mom and I have been making it for years. You will absolutely love the smell of vanilla and cinnamon as it bakes. It's amazing for breakfast or a midnight snack.


Low-Fat Chocolate Chip Banana Bread
Adapted from Eat Up Slim Down
  • 1 1/2 cups flour
  • 1 1/2 tsp. baking powder
  • 1/2 tsp. baking soda
  • 1/2 tsp. salt
  • 1/2 tsp. cinnamon
  • 1/2 cup sugar
  • 2 egg whites
  • 1/2 cup fat-free or low-fat vanilla yogurt
  • 2 tbsp. butter, melted
  • 3 ripe bananas
  • 1/2 cup mini semi-sweet chocolate chips
Go ahead and preheat the oven to 350 degrees. You'll need a 8" x 4" loaf pan. You can either coat it with non-stick spray or line it with parchment paper. I decided to use parchment paper this time. I don't know why I don't do this every time, it's so much easier to get the load out and the pan stays clean.

First mix up the flour, baking powder, baking soda, salt and cinnamon in a bowl and set aside. In a large bowl, beat the sugar and the egg whites. Add in the melted butter and vanilla yogurt.

Take a fork and mash up the bananas, then add them to the yogurt mixture. Now, slowly stir in the dry ingredients little by little. Finally, the best part, fold in the chocolate chips!


Pour the batter into the pan. Make sure you use a spatula to get every last bit of the yummy goodness, because the batter will be sticky. Bake for 50-55 minutes. The bread should be golden brown when finished. Look how easy it comes out with parchment paper. It's as simple as peeling it back.


I decided to share the two loaves that I had made with family. Ryan's parents had just watched our little Doxie while we were out of town. Who doesn't love an edible thank you? First, I laid it out on some clean parchment paper and sliced it.


I had these pastry boxes that I had found at Michael's for nine cents! For some reason they were on clearance, so as usual, I loaded my basket with them, knowing I would find a use for them at some point. I lined the pastry box with pretty tissue paper and finished off the loaf with some ribbon.


 Since it was a thank you for doggy-sitting, I used this great paper that I had also bought at Michael's on sale 6/$1. I backed it with some checkered paper then used double-stick tape to stick it to itself, making it easy to slide off the box and dive into the deliciousness inside.


With the second loaf, I saved half for us (I couldn't resist). The other half I decided to wrap up for Ryan's Noni (a play on the Italian word for grandmother).


Pin It
Related Posts Plugin for WordPress, Blogger...