
Ryan's twin nieces were turning six and I wanted to make them something special. I came across this idea for felt dress up dolls at Smile and Wave, which also led me to these extremely cute felt dresses by Olivia Mew. I absolutely love the way the dolls turned out!

I couldn't wait to start cutting out the miniature fashionistas. I headed to Joann's and grabbed a bunch of felt. I hadn't done any crafts with felt in a loooong time. I was surprised to find they even had animal print felt.

Of course, I had to throw in a little felt wiener dog. We had fun coming up with the accessories. Ryan made the cupcakes and cut the parrots freehand! He never ceases to amaze me.


Rachel was sweet enough to share a template for the dolls in her post. Use this as a jumping off point and then channel your inner fashion designer and run with it.

A hunt through my craft room turned up flower-shaped brads, mini pearls, ribbon, buttons, and lots of little bling. So I went to town adding the finishing touches to the clothes.

Meow! My attempt above at felt cat-eye glasses. Maybe if I had done them in black, they would have looked more like cat-eye glasses and less like a superhero mask.

I would have loved to make even more clothes and accessories. Ryan had to pull me away when I was still cutting out little hairdos and handbags ten minutes before the party was supposed to start. He reminded me that I could make them more wardrobe pieces as a Christmas gift (which is the perfect idea since I'm sure a few pieces will have been sucked up into the vacuum by then).


Now I know that it's lame to give a dual gift to twins. But with the sandwich board they can each have their own side to dress up dolls. I personalized them with their names. Plus they have twice the wardrobe options so they can swap clothes with each other, doll clothes that is (one of the twins is much taller than the other).

You can choose a different color for the board felt. But I ended up following Rachel's lead and choosing a light gray. No other color worked as well. It's neutral and it allows the brightly colored clothes to pop.
Here's how to make the felt board :

What you'll need:
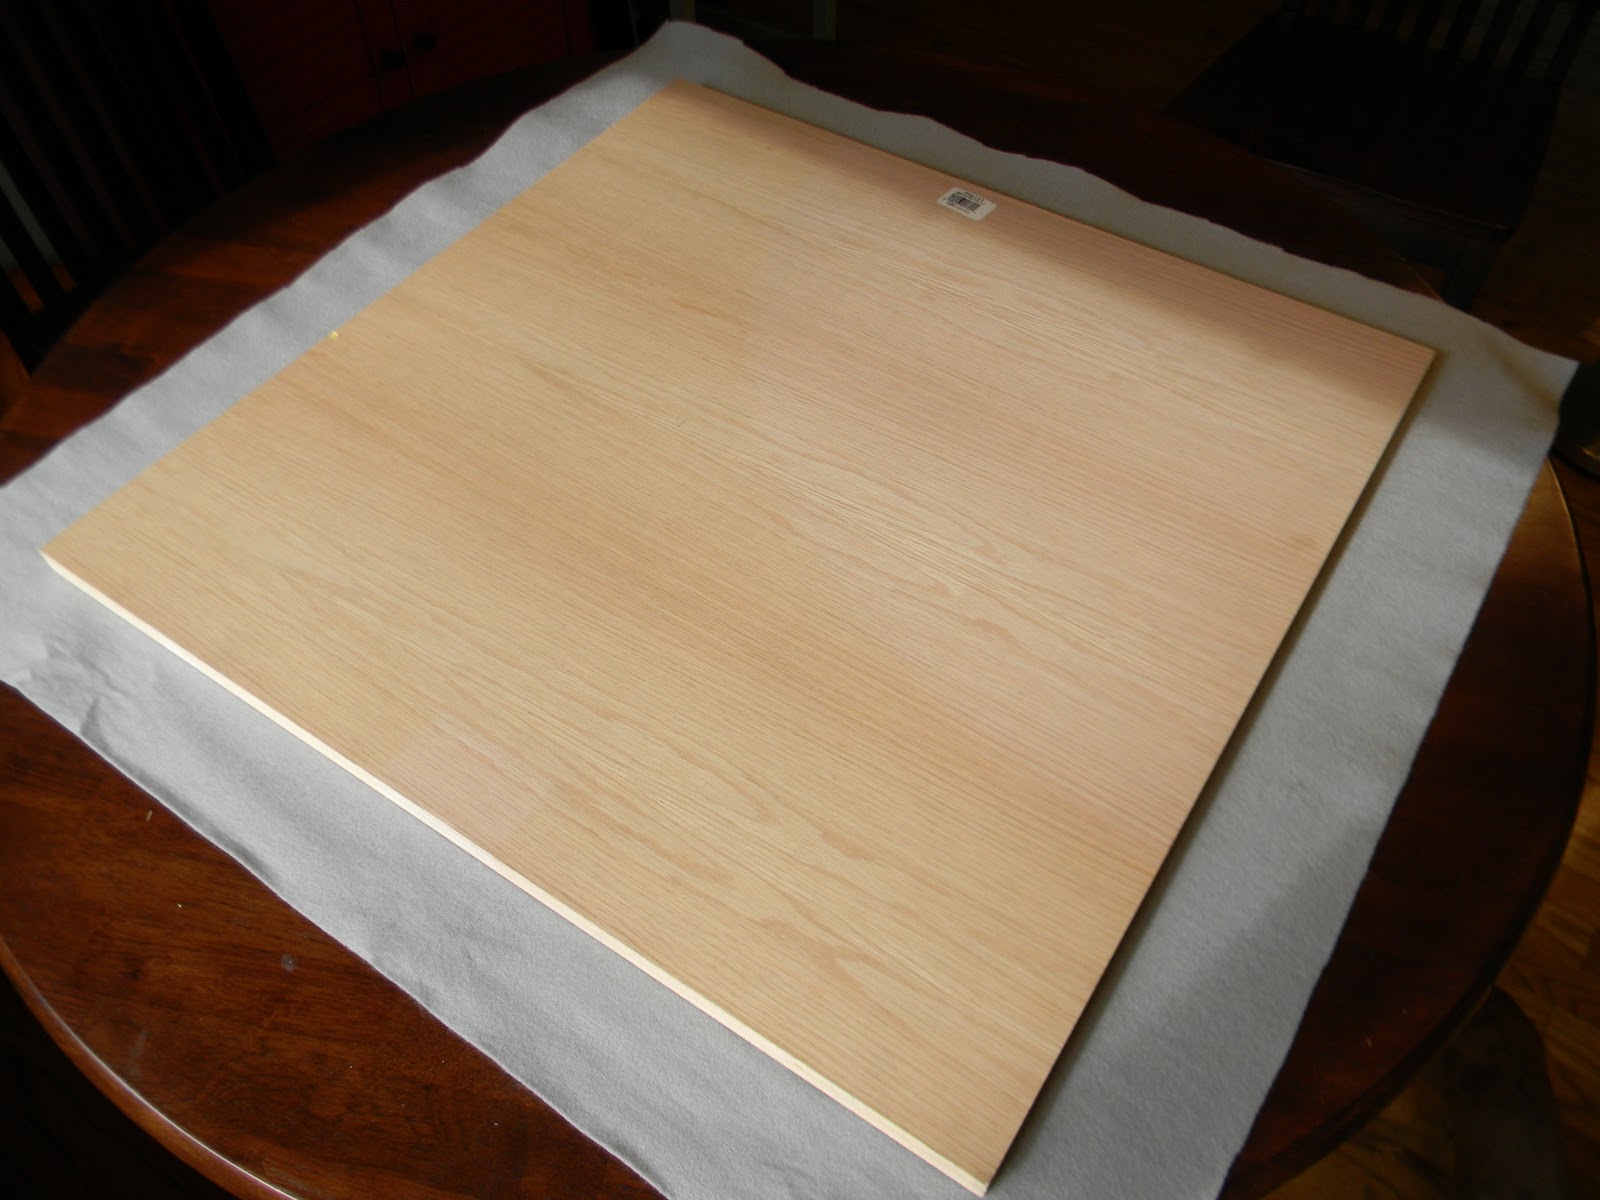
- 2 pieces of plywood measuring 3/4" x 2' x 2' (you can find them pre-cut @ Lowes)
- Two hinges with screws no longer than 3/4"
- 2 foot long pieces of chain with 4 screws shorter than 3/4"
- 1 yard light gray felt (72" bolt)
- 3/4 yard felt for backing in whatever color you choose (72" bolt)
- Spray Adhesive
- Tools: scissors, staple gun, and electric drill
Cut the felt to be a about 3 inches bigger all around than the plywood.

To do the corners, first staple like so, making sure that you pull the felt taut.

Then like so.

And finally like so. Until all four corners are complete.

How it should look once finished.

Then screw on your hinges.


Make sure you smooth the felt as you press it to the adhesive. The backing makes the boards look more polished and complete.

Attach the chain.

Finally, display all of your beautiful dolls and clothing. Remember felt sticks to felt.

Easy peasy. And so cute! The girls loved them. Once I showed them, they immediately started changing up the dolls' outfits.

We snuck in a picture with the young ladies of the hour. This was at the end of their party and I think they were pictured out. I thought about it and I would love to make these dolls again in the future only next time I think I would put them in a book like Sarah over at Proverbs 17:22. In book form the felt pieces are less likely to fall off.
Thanks Rachel for the incredibly fun idea! I had so much fun making it, like a little girl playing with her dolls.
Pin It
Those are adorable! How did you even make cuts that small? I made a little quiet book out of felt and it was tons of work, but I like that you can't really mess up felt!
ReplyDeleteSome of the smaller pieces like the glasses were pretty tricky, but felt is pretty forgiving. I've been wanting to make a quiet book, which I had never heard of 'til recently, for my nephew that will be coming soon.
ReplyDeleteLOVE!! Thanks for the post :)
ReplyDeleteI am jealous of your creativity!! I love everything you've posted and am going to try some of the recipes soon :)
ReplyDeleteYay Brigitte I hope that you do try some. Let me know how they turn out. And I know that you have tons of creativity too! Don't think that I forgot about that amazing cake.
ReplyDeleteThese are so amazing! They would be perfect for party. Wonderful project idea!(:
ReplyDeleteThanks Zoe!
ReplyDeleteI noticed that some of the pieces that you have on your board that are not on the template. Did you use another template for the extra hair and clothing?
ReplyDeleteSorry, no other template. I started with Rachel's template, then just started cutting to reshape the clothing into new pieces. The extra hairstyles, pets, and most of the accessories were free-handed. Props to my boyfriend who free-handed the parrots and the braids.
Delete