Showing posts with label Costume. Show all posts

Wednesday, November 2, 2011

Harry Potter and a DIY Paper Wig

Now I am one of a rare and dying breed...those that have never read any of the Harry Potter books or seen any of the movies. Gasp, I know. And it just so happens that Ryan and I were invited to a Harry Potter-themed Halloween party. What's a girl (with no Harry Potter knowledge) to do? Google it.

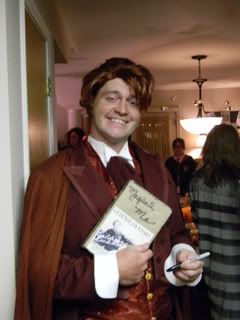
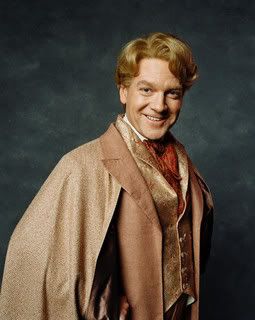
We decided on Gilderoy Lockhart for Ryan. One rented 3-piece suit and a carefully styled wig later...

            
When it came to me the first suggestion was Madame Maxime. She's a French teacher...I'm a French teacher, she has a brunette bob...I have a brunette bob. My research revealed that she is mighty tall. Ryan's suggestion: "Just walk around on stilts." Um...I was definitely not committed enough to the character to risk a broken ankle.

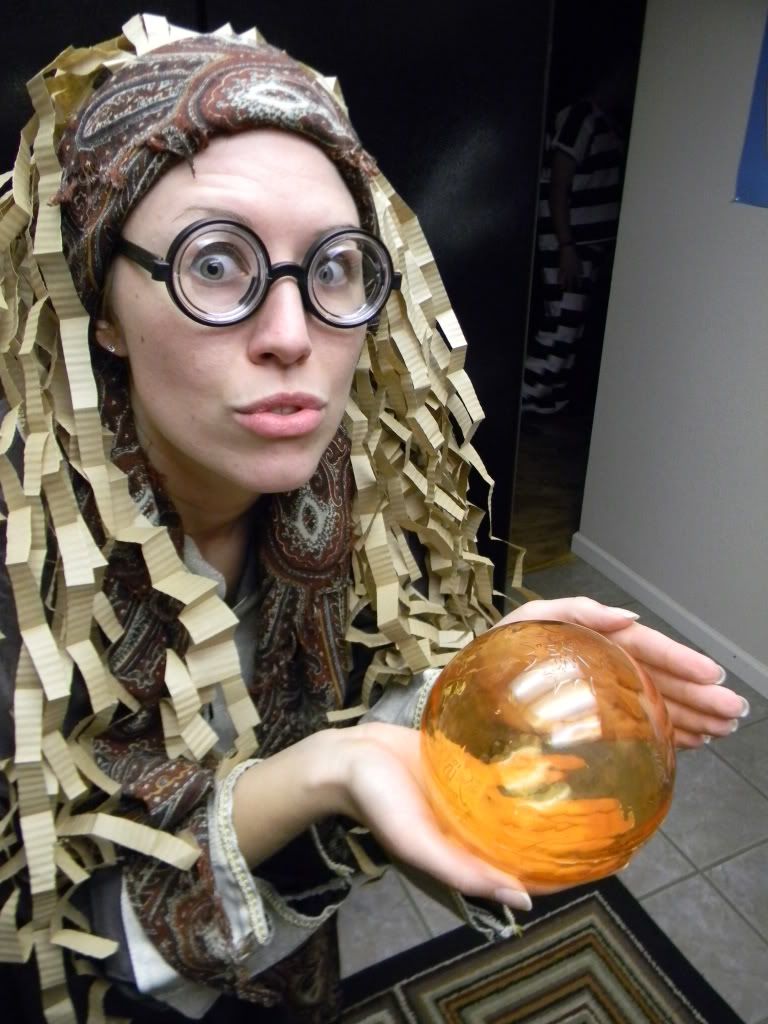
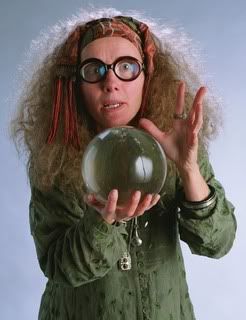
Then we came across Sybill Trelawney, Professor of Divination. Big coke bottle glasses, hippy attire, and long wild hair. Now that's a costume I could put together.

            
Call me weird, but I refused to wear a wig from the costume rental store. The wigs I looked at had bobby pins and leaves still in them from the last customer. Scenarios ran through my mind of how someone ends up with leaves in their wig. No thank you. 

The used wig was out. Store-bought wigs were pricey. I had made a paper wig in the past while working at a summer camp for kids. Trelawney's crazy hair would be easy to make out of paper. It's really simple, let me show you...

All you need is a hot glue gun, scissors, paper of your choice, and a beanie. The first time I made a paper wig, I didn't use a beanie. I simply made a skull-cap by holding butcher paper over my head and wrapping masking tape around, then trimming it.


Since Trelawney's hair is sort of a brushed out perm, I wanted to give the paper texture. This paper crimper did just that.


After running sections of paper through the crimper, I cut them into strips. Next, I folded the strips accordion style.


The last step is to glue the pieces to your beanie (or paper cap). 

Sunday, October 23, 2011

DIY Lady Owl Costume


I was determined to make my own costume this year...on the cheap. The materials for this little owl costume ended up costing less than twenty dollars! I'm so happy with how it turned out and it was so easy. Anybody could do it and it would be great adapted for kids or even babies (how cute would a Onesie with these little fabric feathers be?).

I was inspired by this really cute homemade owl costume by Chelsea over at Seablanket. She used a pillowcase, but my...girly figure (to put it nicely) wouldn't exactly fit in the pillowcase I tried. Easy solution: clearance dress from Ross. I was originally looking for a mod 60's boxier dress shape, but no luck. I did however find this sweater dress for $7.99. Here's the before :


I went to Joann's, 20% off coupon in hand, to gather fabrics for my costume. The fabric I decided on is actually lining. It's lightweight, cheap, and it has a pretty sheen. I originally bought the zebra fabric thinking it might look feathery  once cut in the right shape. But in the end, I decided against the zebra print.


I cut out large petal shapes from each fabric color. The only problem with the fabric I chose was that it frayed easily. So I ran a little Fray Check along the edges and problem solved. When it came to putting the petals on the dress, my little hot glue gun worked like a charm. Quick and easy.


I cut the turtleneck flap and the sleeves off of the dress. Not being able to pass up a little bling, I took the buttons from the sleeves and glued them on to the collar. 
  

Almost done...

Time for the final touches. I cut out some little wings from the extra fabric. Never mind the fact that they look more like bug wings than owl wings. Whoops. I ran some copper glitter glue around the wing edges (any excuse for extra sparkle) then hot glued them to the dress. To jazz up my face we found this face paint and these feather eyelashes on Amazon.


Luckily, I have Ryan and his great artistic ability around to help. We looked at some examples of owl make-up on Youtube. There are some incredible face painting tutorials! He "owlified" me in about ten minutes. I slapped on some glitter and my feather lashes and the budget-friendly transformation was complete.


Some of you might be thinking that you don't have the time to put this together. But there are quite a few ways to cut down on the time. The easiest way would be to make the "feathers," what I've been calling petals, much bigger cuts of fabric, like Chelsea did. Also, the wings can easily be left off the costume. The most time consuming step for me was running Fray Check along the edges of each petal. With different fabric or if you just don't mind a few dangling strings, skip that step completely = major time saver.


We had a lot of fun at the costume party! Ryan dressed up as a poacher and ran around shooting me with his Nerf shotgun. Who hunts polka-dotted owls? My guy. I was even given a tiny little trophy for "Best Costume." That tiny golden jack-o-lantern made it all worth it.


Pin It
Related Posts Plugin for WordPress, Blogger...